Featured

The Duke

I’m sure all you lovely makers out there are familiar with Ellie and Mac’s beautiful coat pattern, the ‘Duchess’ (and if you’re not, go take a look at it, it’s fabulous!). Well now, Ellie and Mac have brought out the super cool Duke!

I adored this pattern from the moment I laid eyes on it, and knew instantly that I had to sew it up for my boys. There was only one problem….it’s the middle of a very hot summer here in Brisbane*. But I wasn’t going to let a little thing like 38 degree days stop me (that’s 100 degrees Fahrenheit for our American friends). I applied to test this fun jacket and even though I’m not a regular tester for Ellie and Mac, I was lucky enough to be selected.

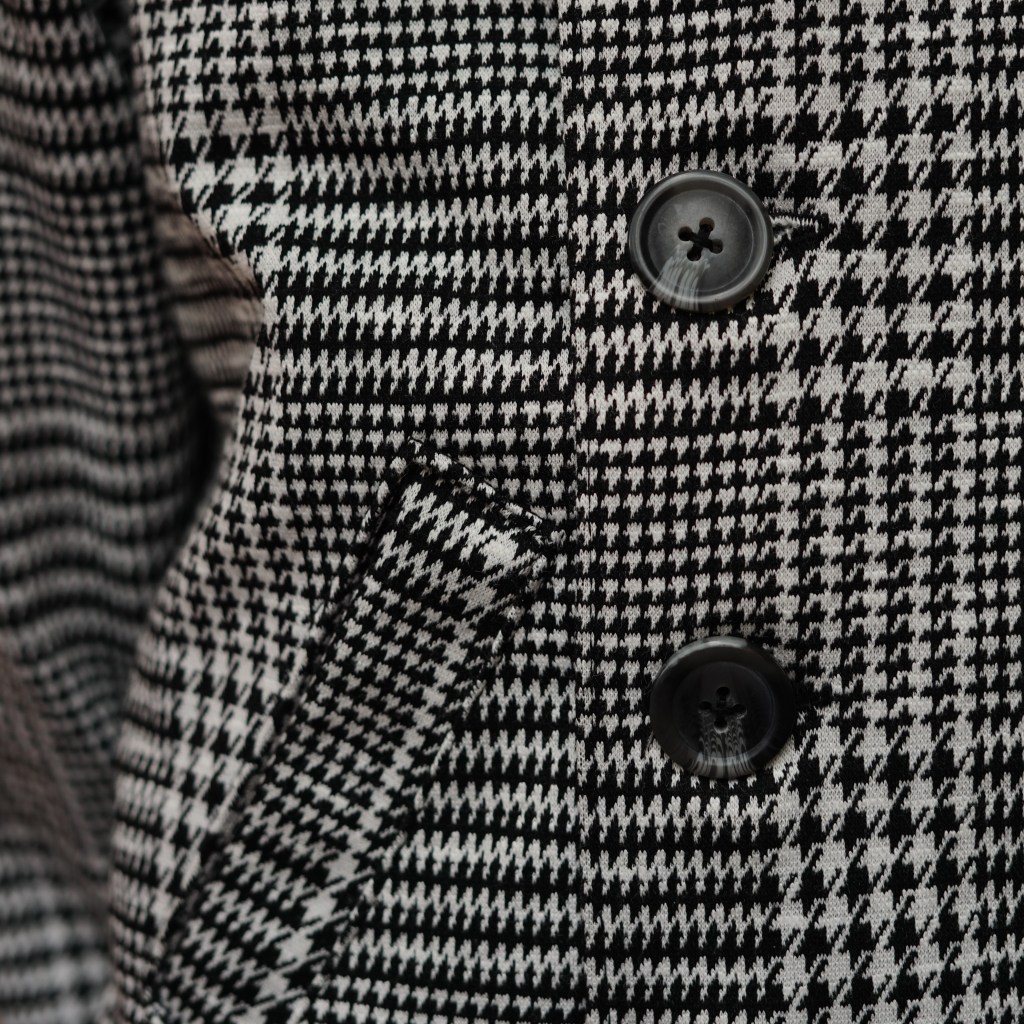
This jacket is fully lined, with optional but fun welt pockets and tabs. It comes in a range of kids sizes from 12-18 months to a size 14, and recommends the use of a medium to heavy weight woven fabric and a thinner fabric for the lining. For those in colder climates wanting to use thicker fabrics, the pattern recommends sizing up. My son was on the upper end of the sizing chart for a size 7 and the fit was just right.

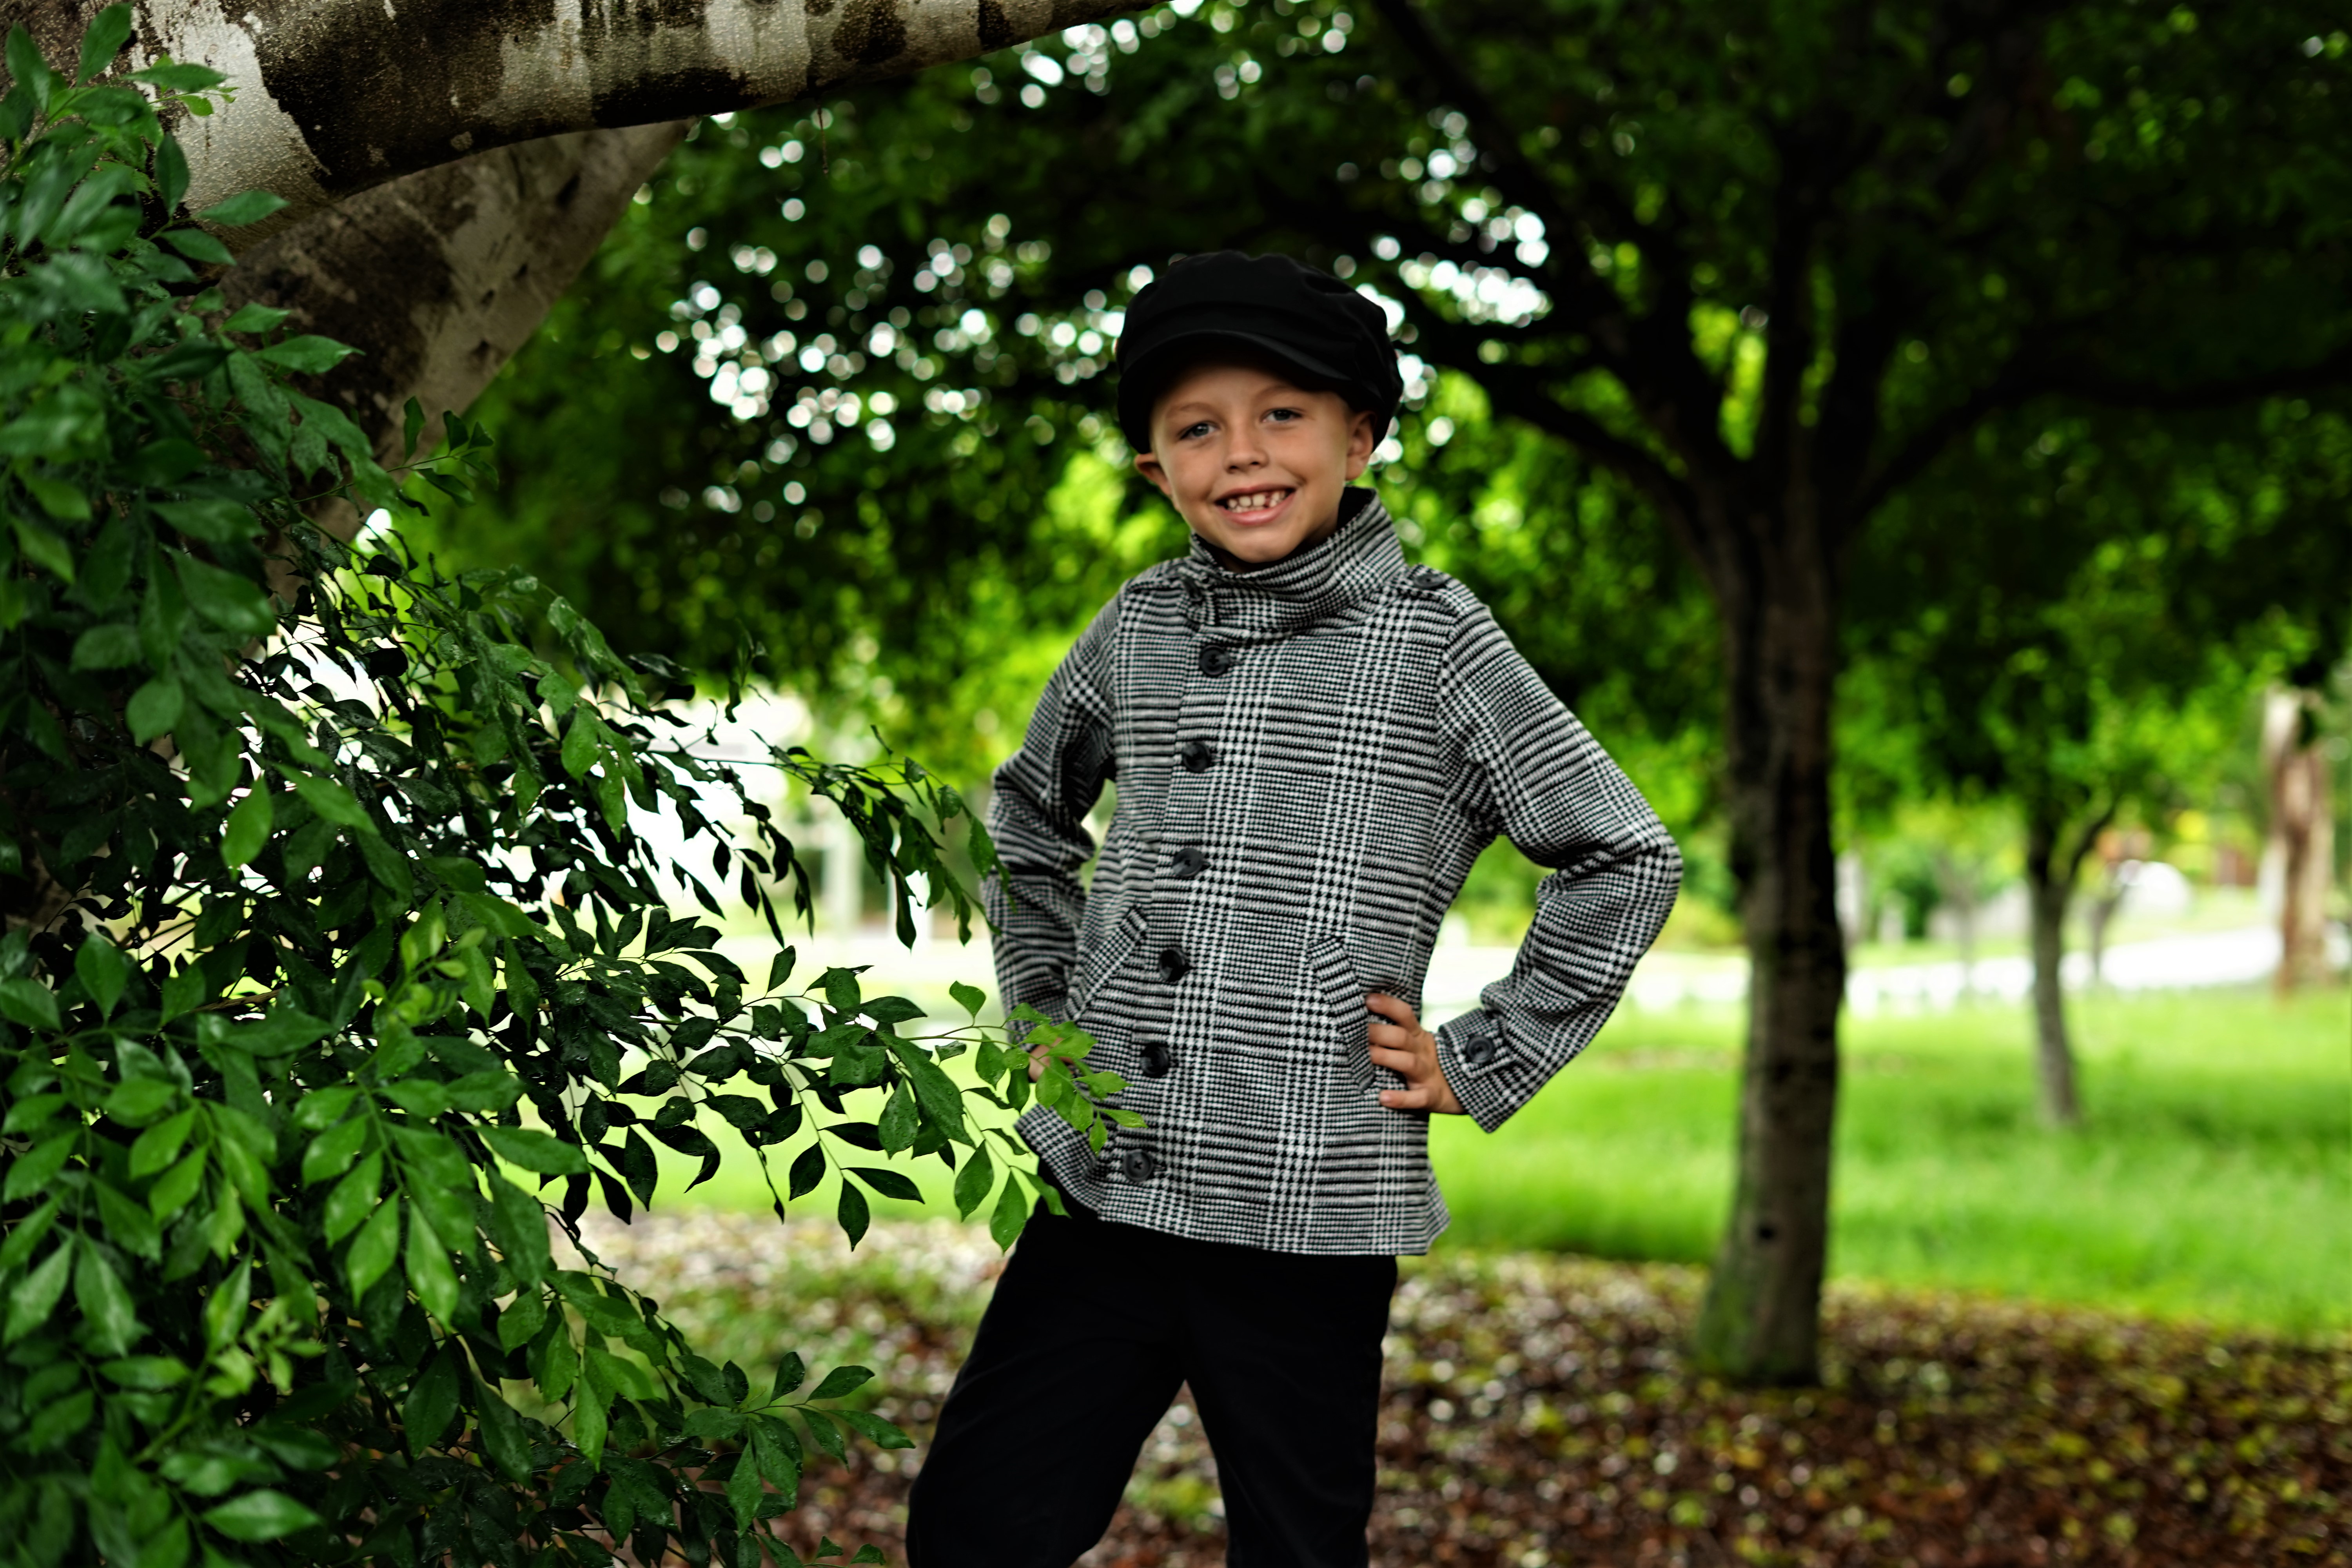
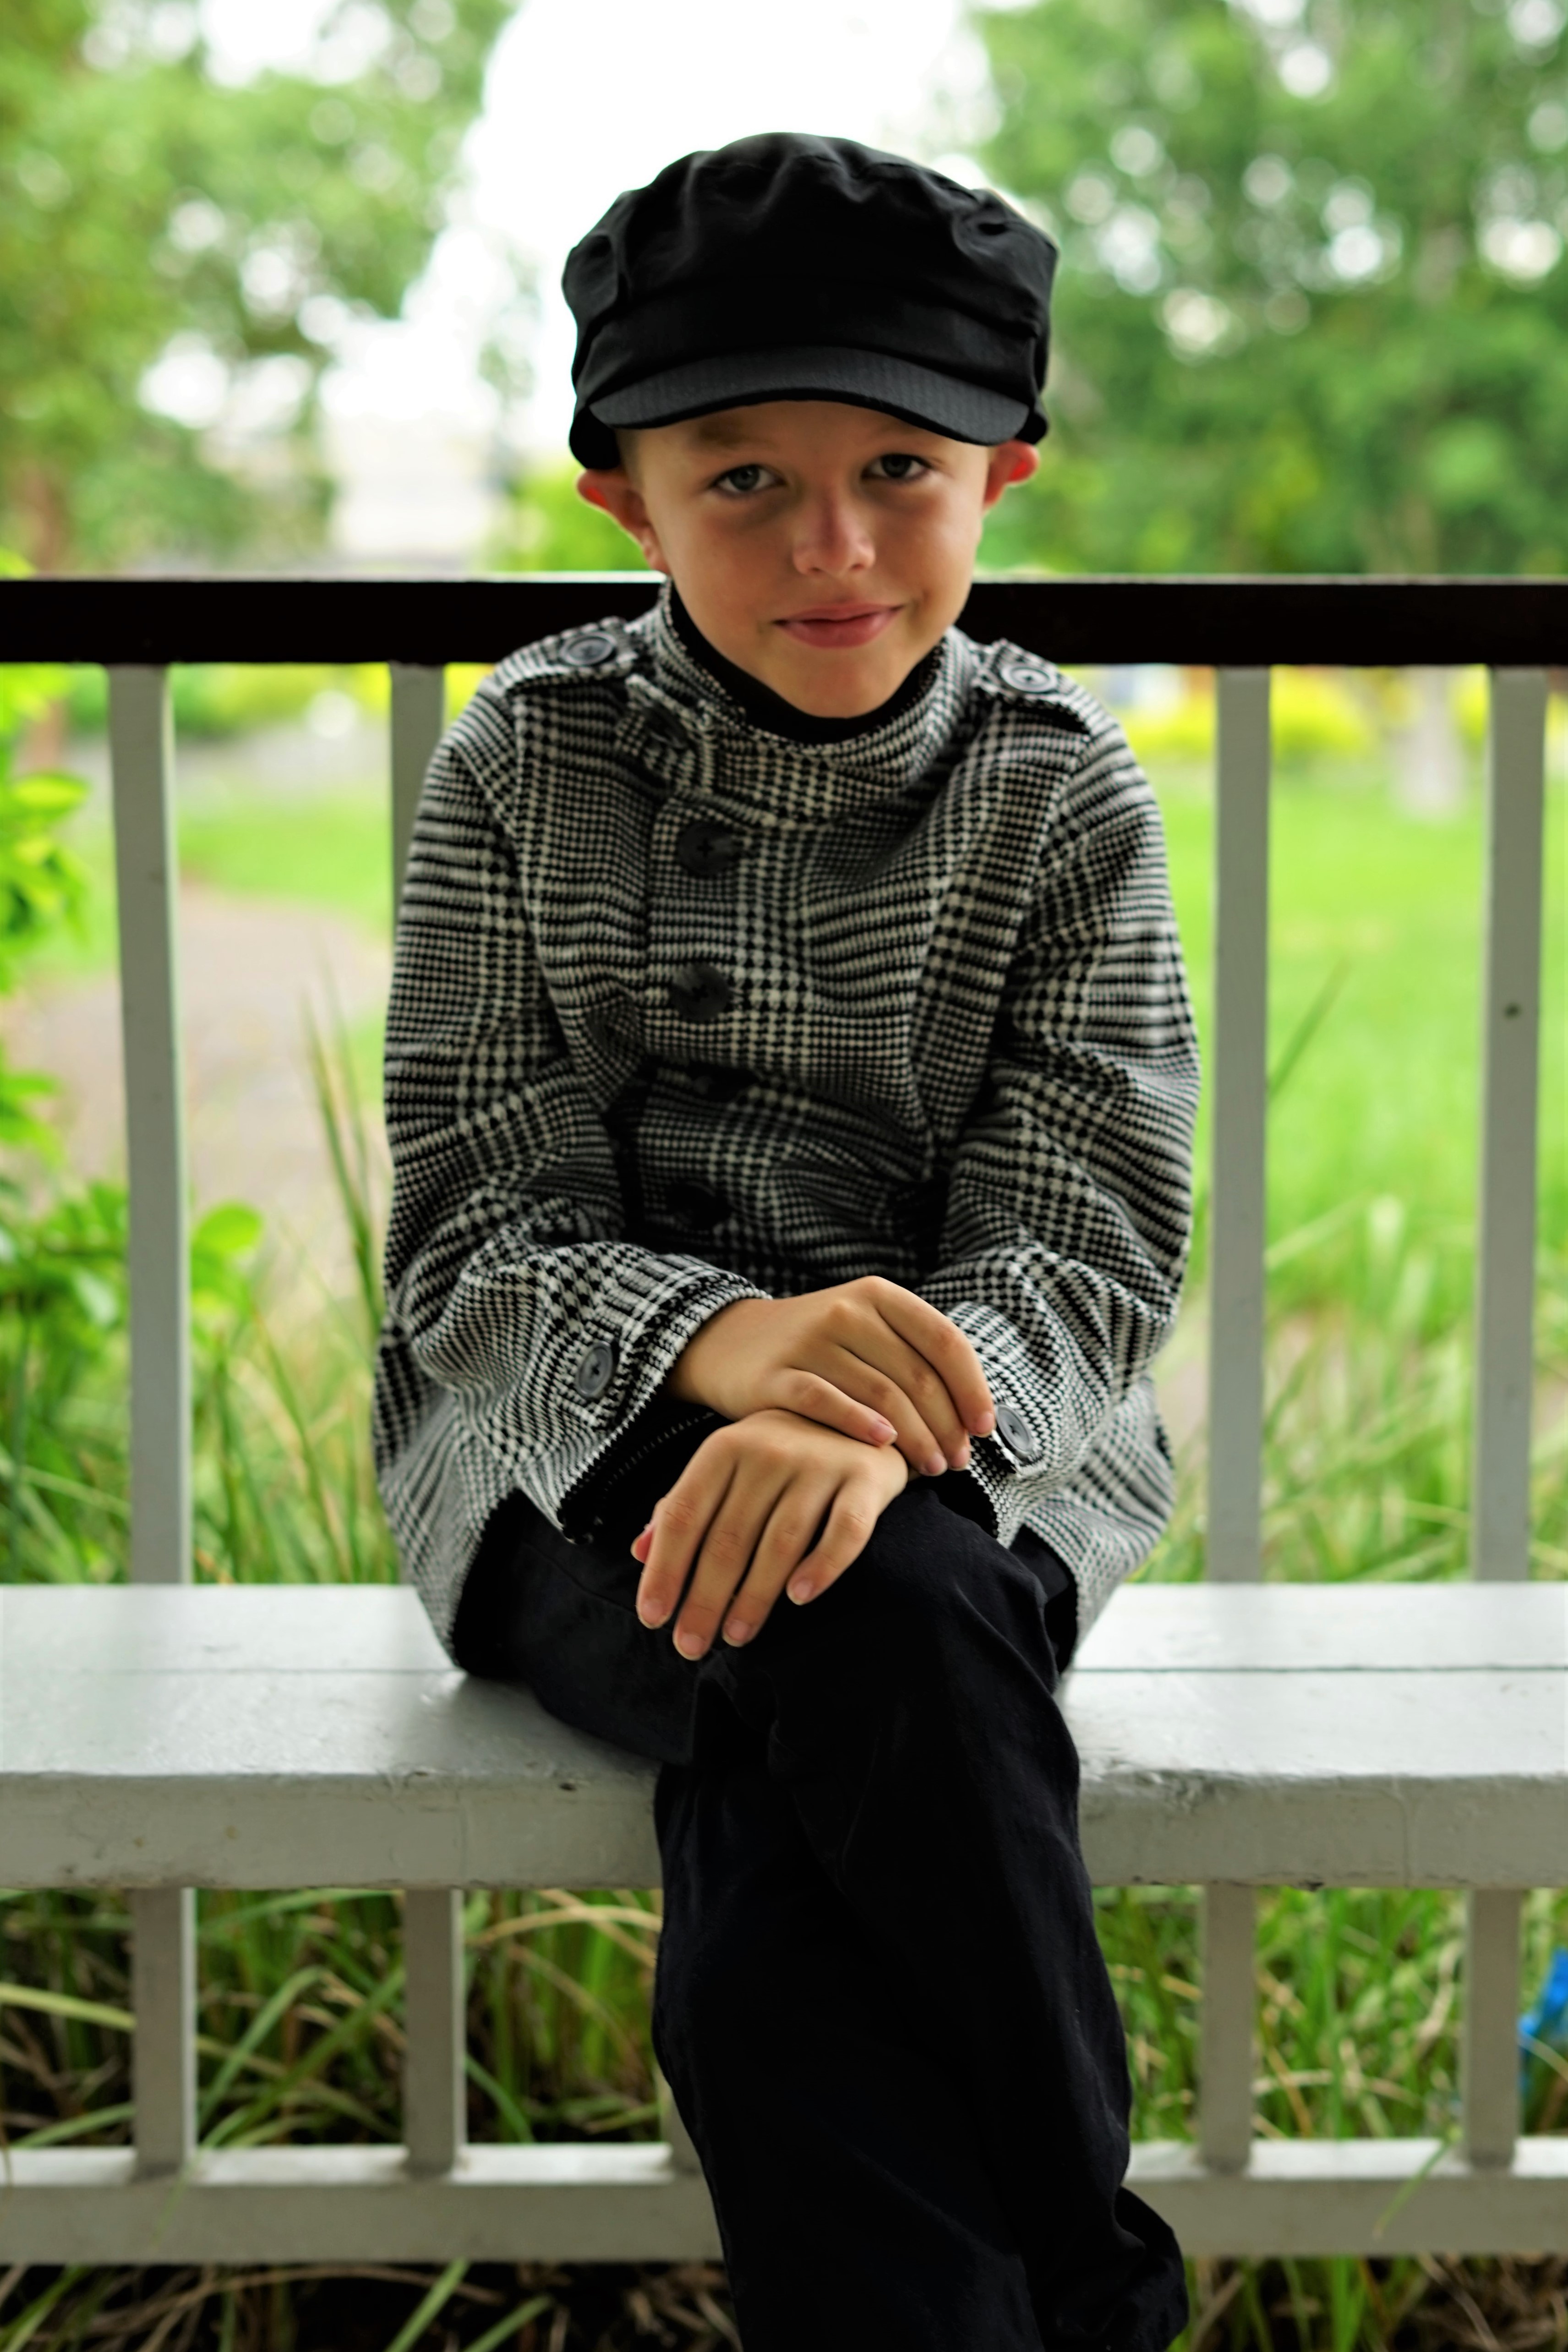
The jacket pictured is made out of a wool blend for the main outer fabric and a satin fabric for the lining. The ‘Duchess’ I made for myself many months ago has the same satin lining, and when it is cold my son and I would cuddle up inside my coat. So when I was discussing fabric options with my son, he requested the same outer fabric so ‘we match’ and the same ‘super silky’ fabric on the inside 🙂
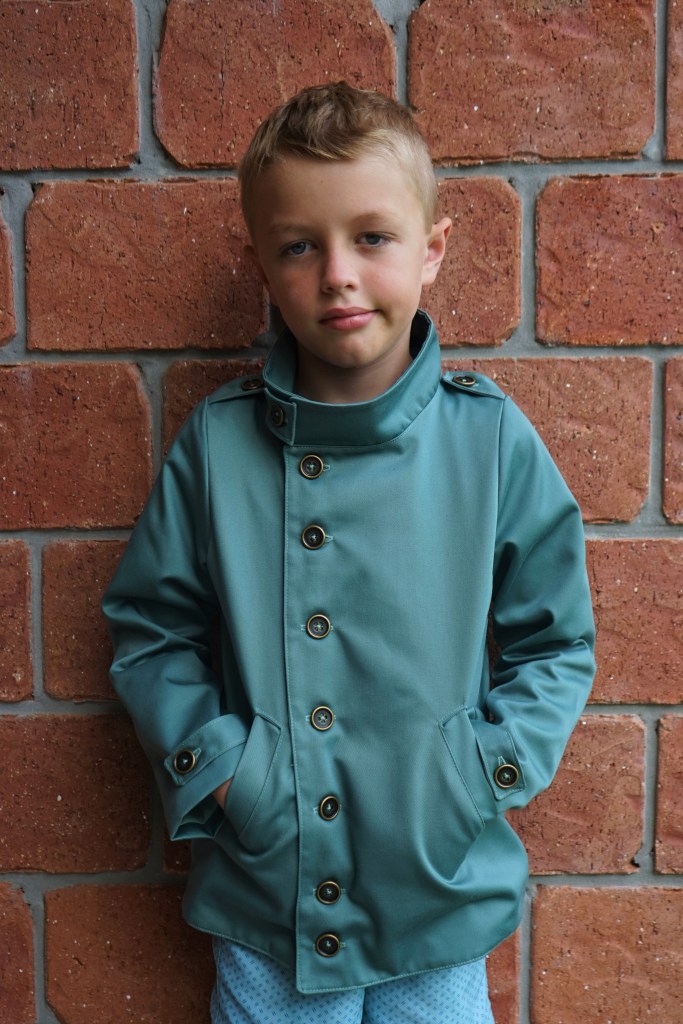
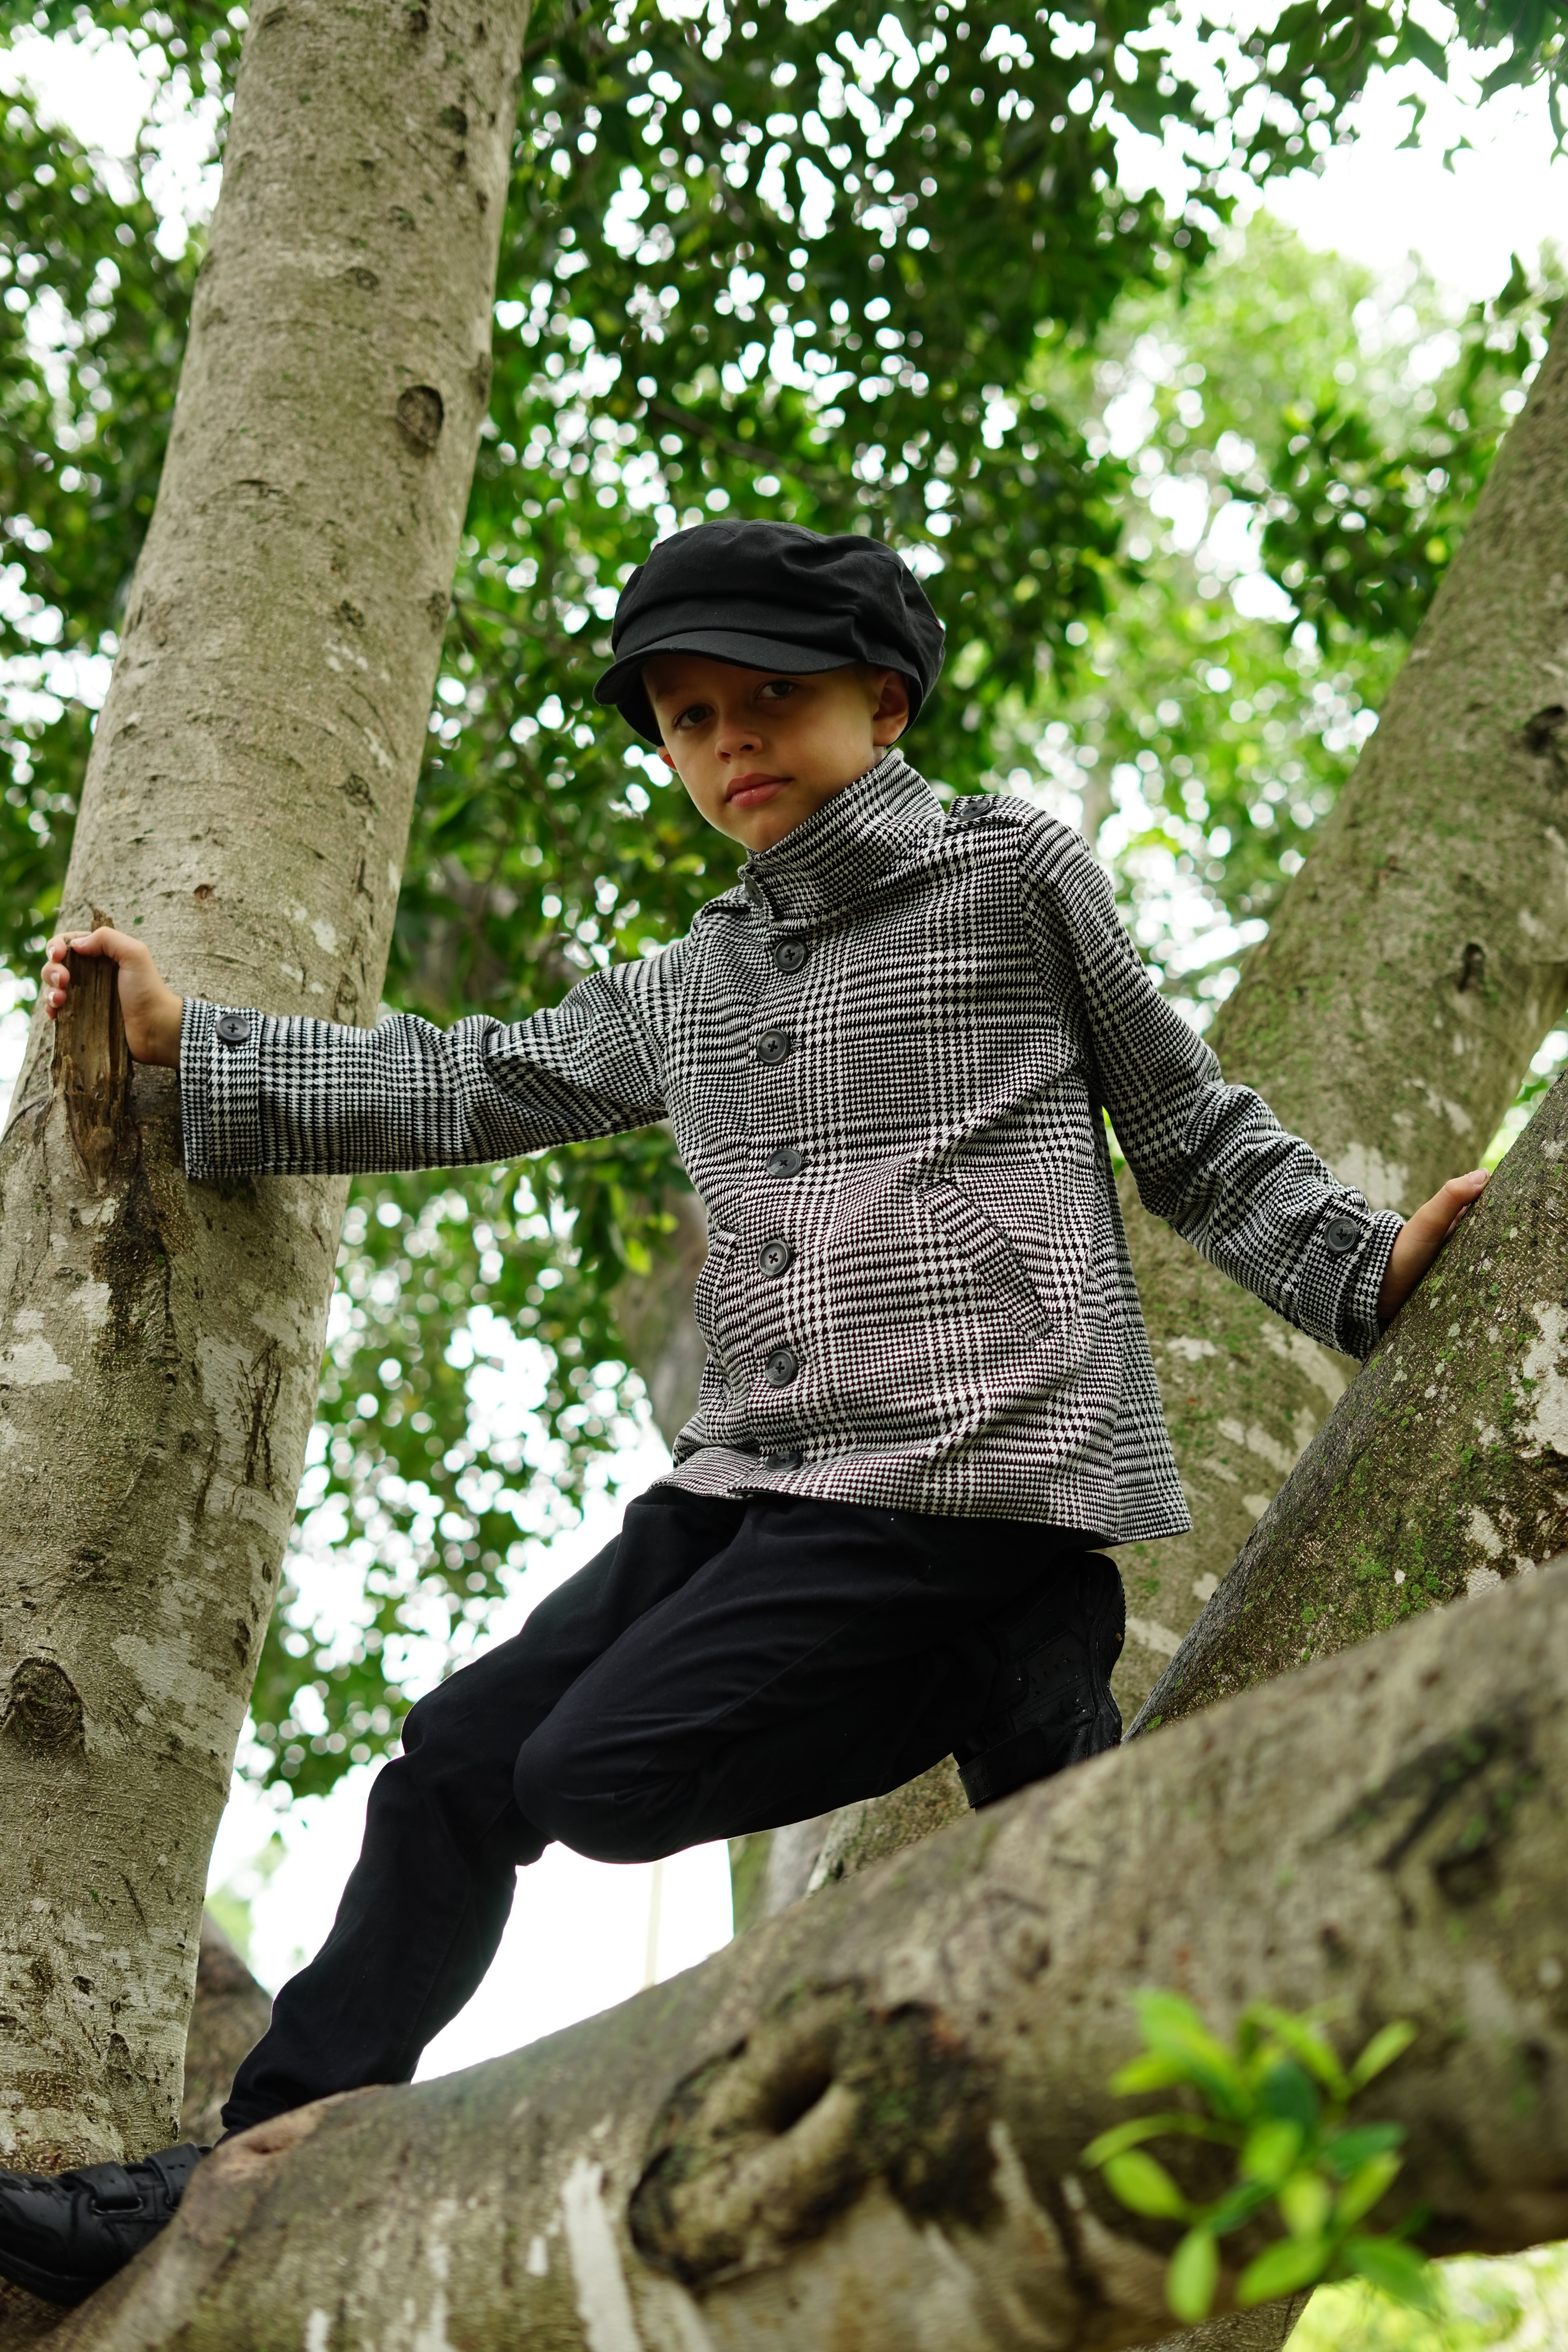
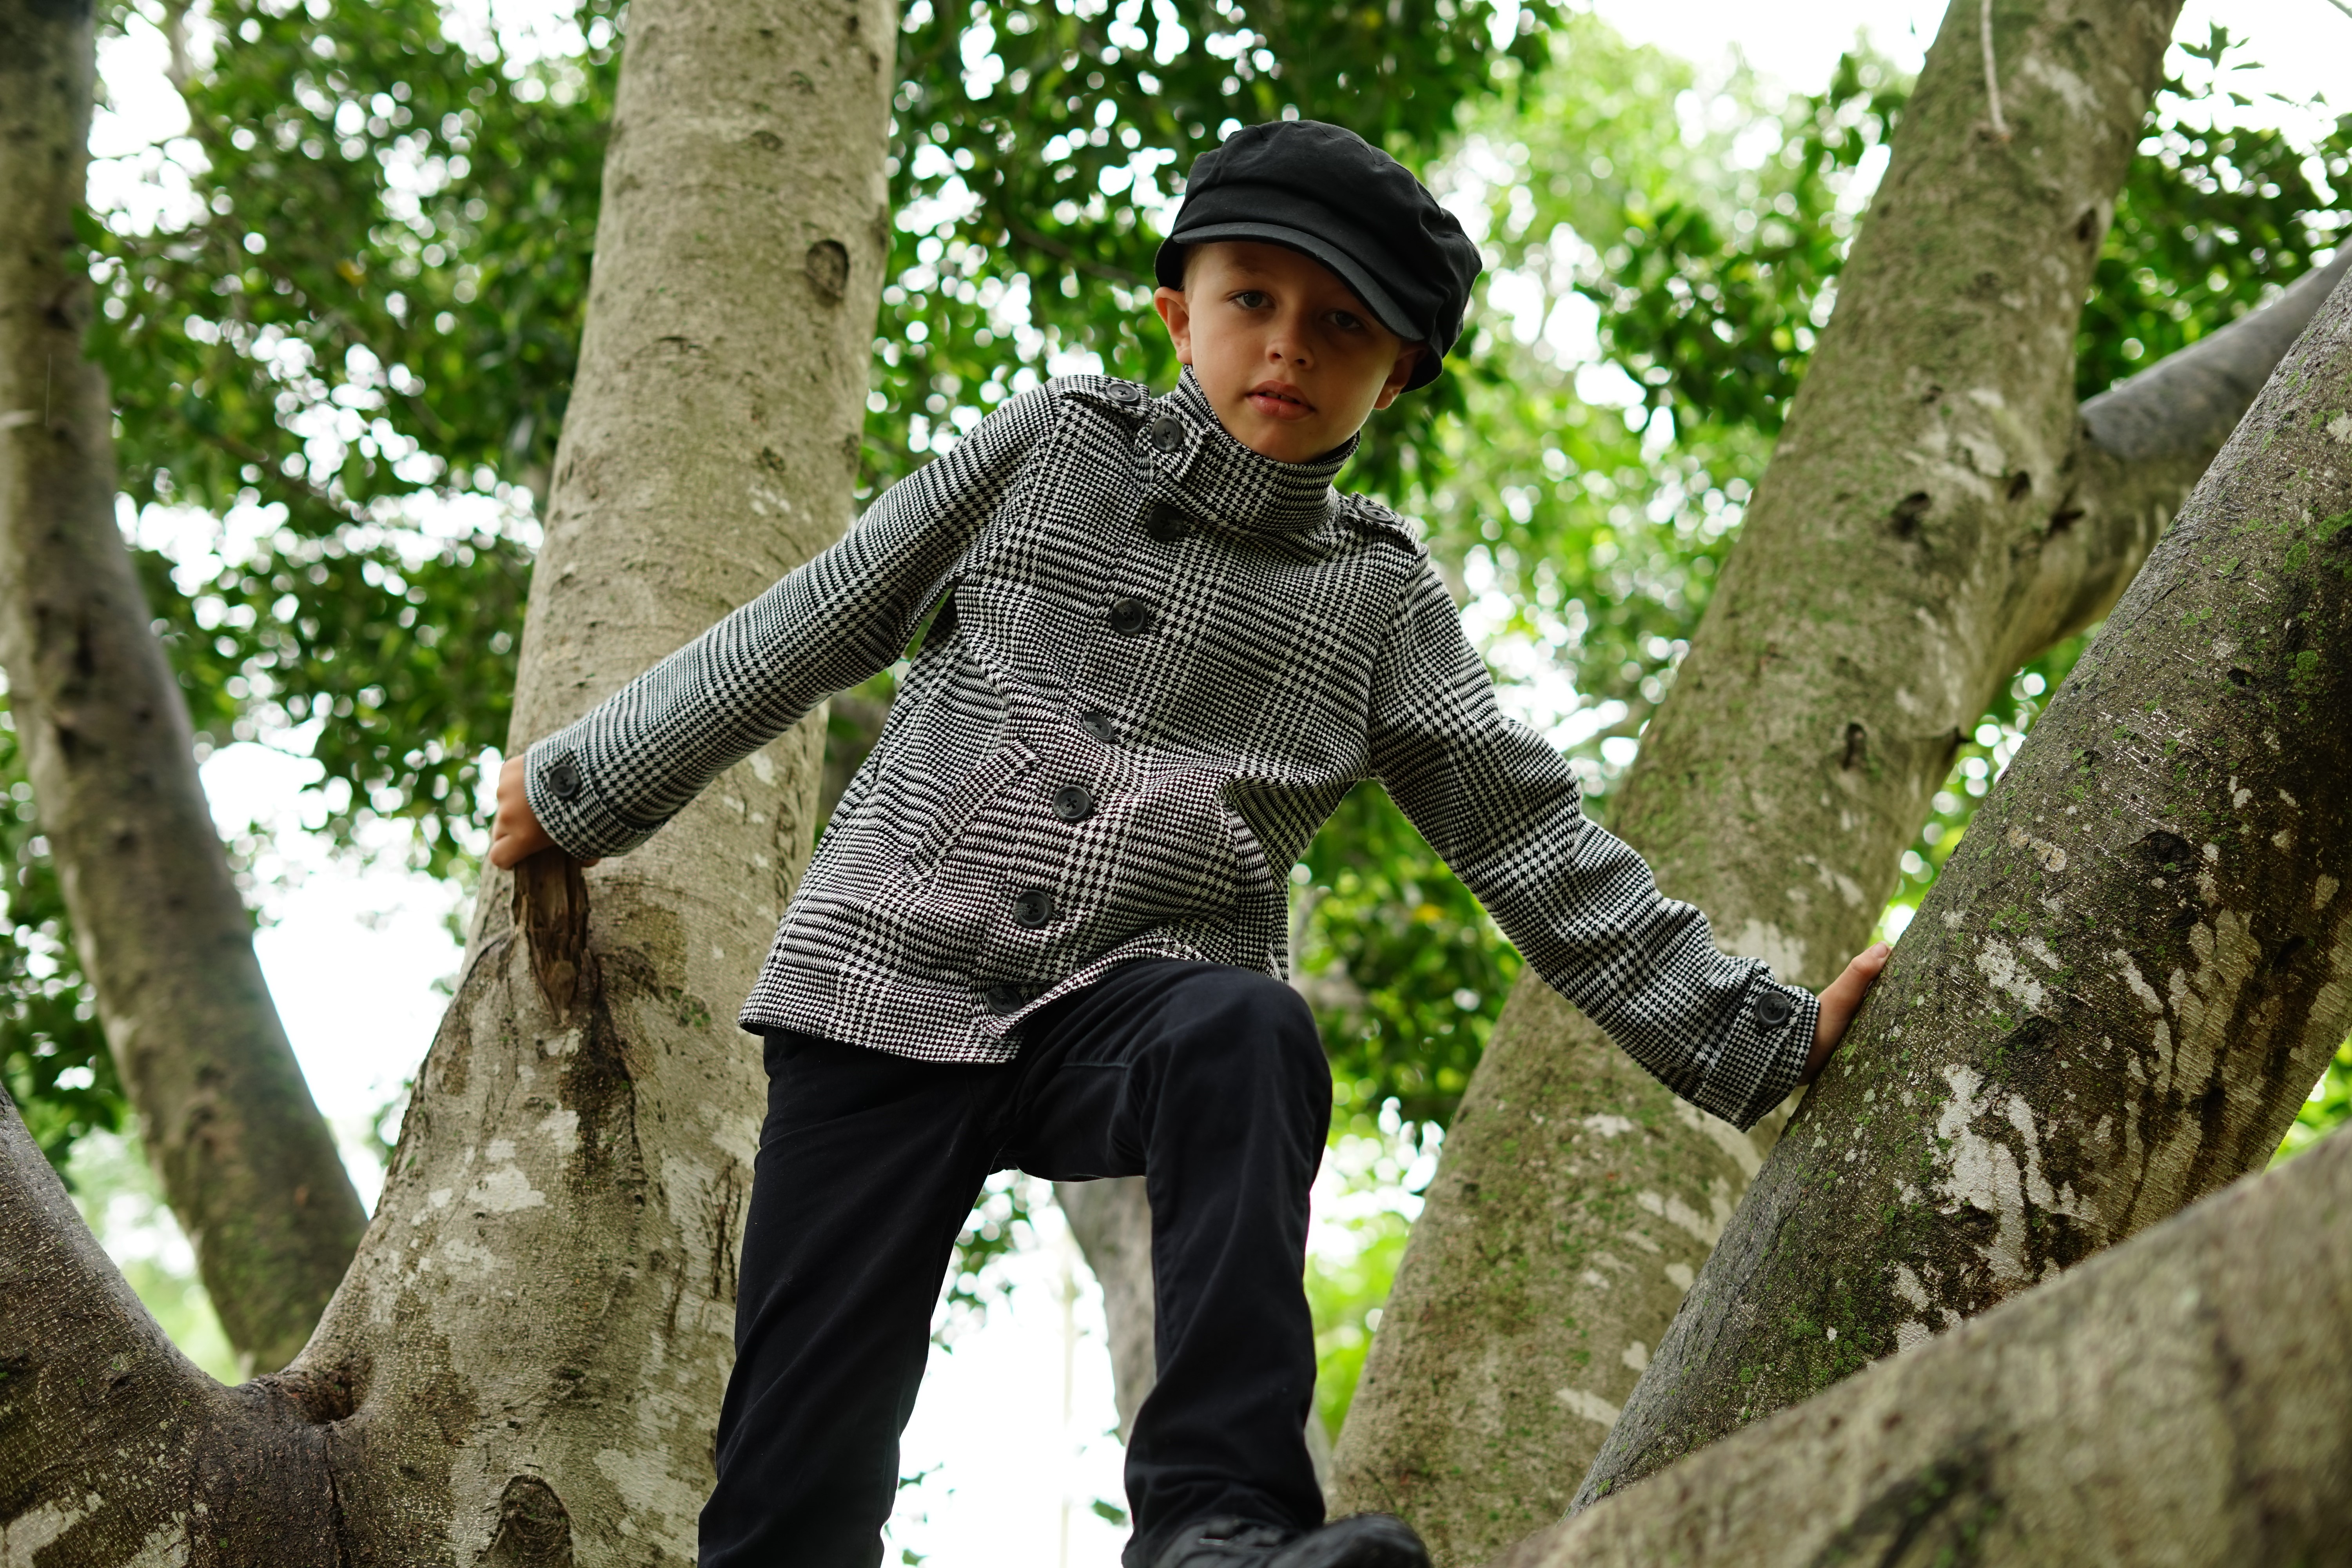
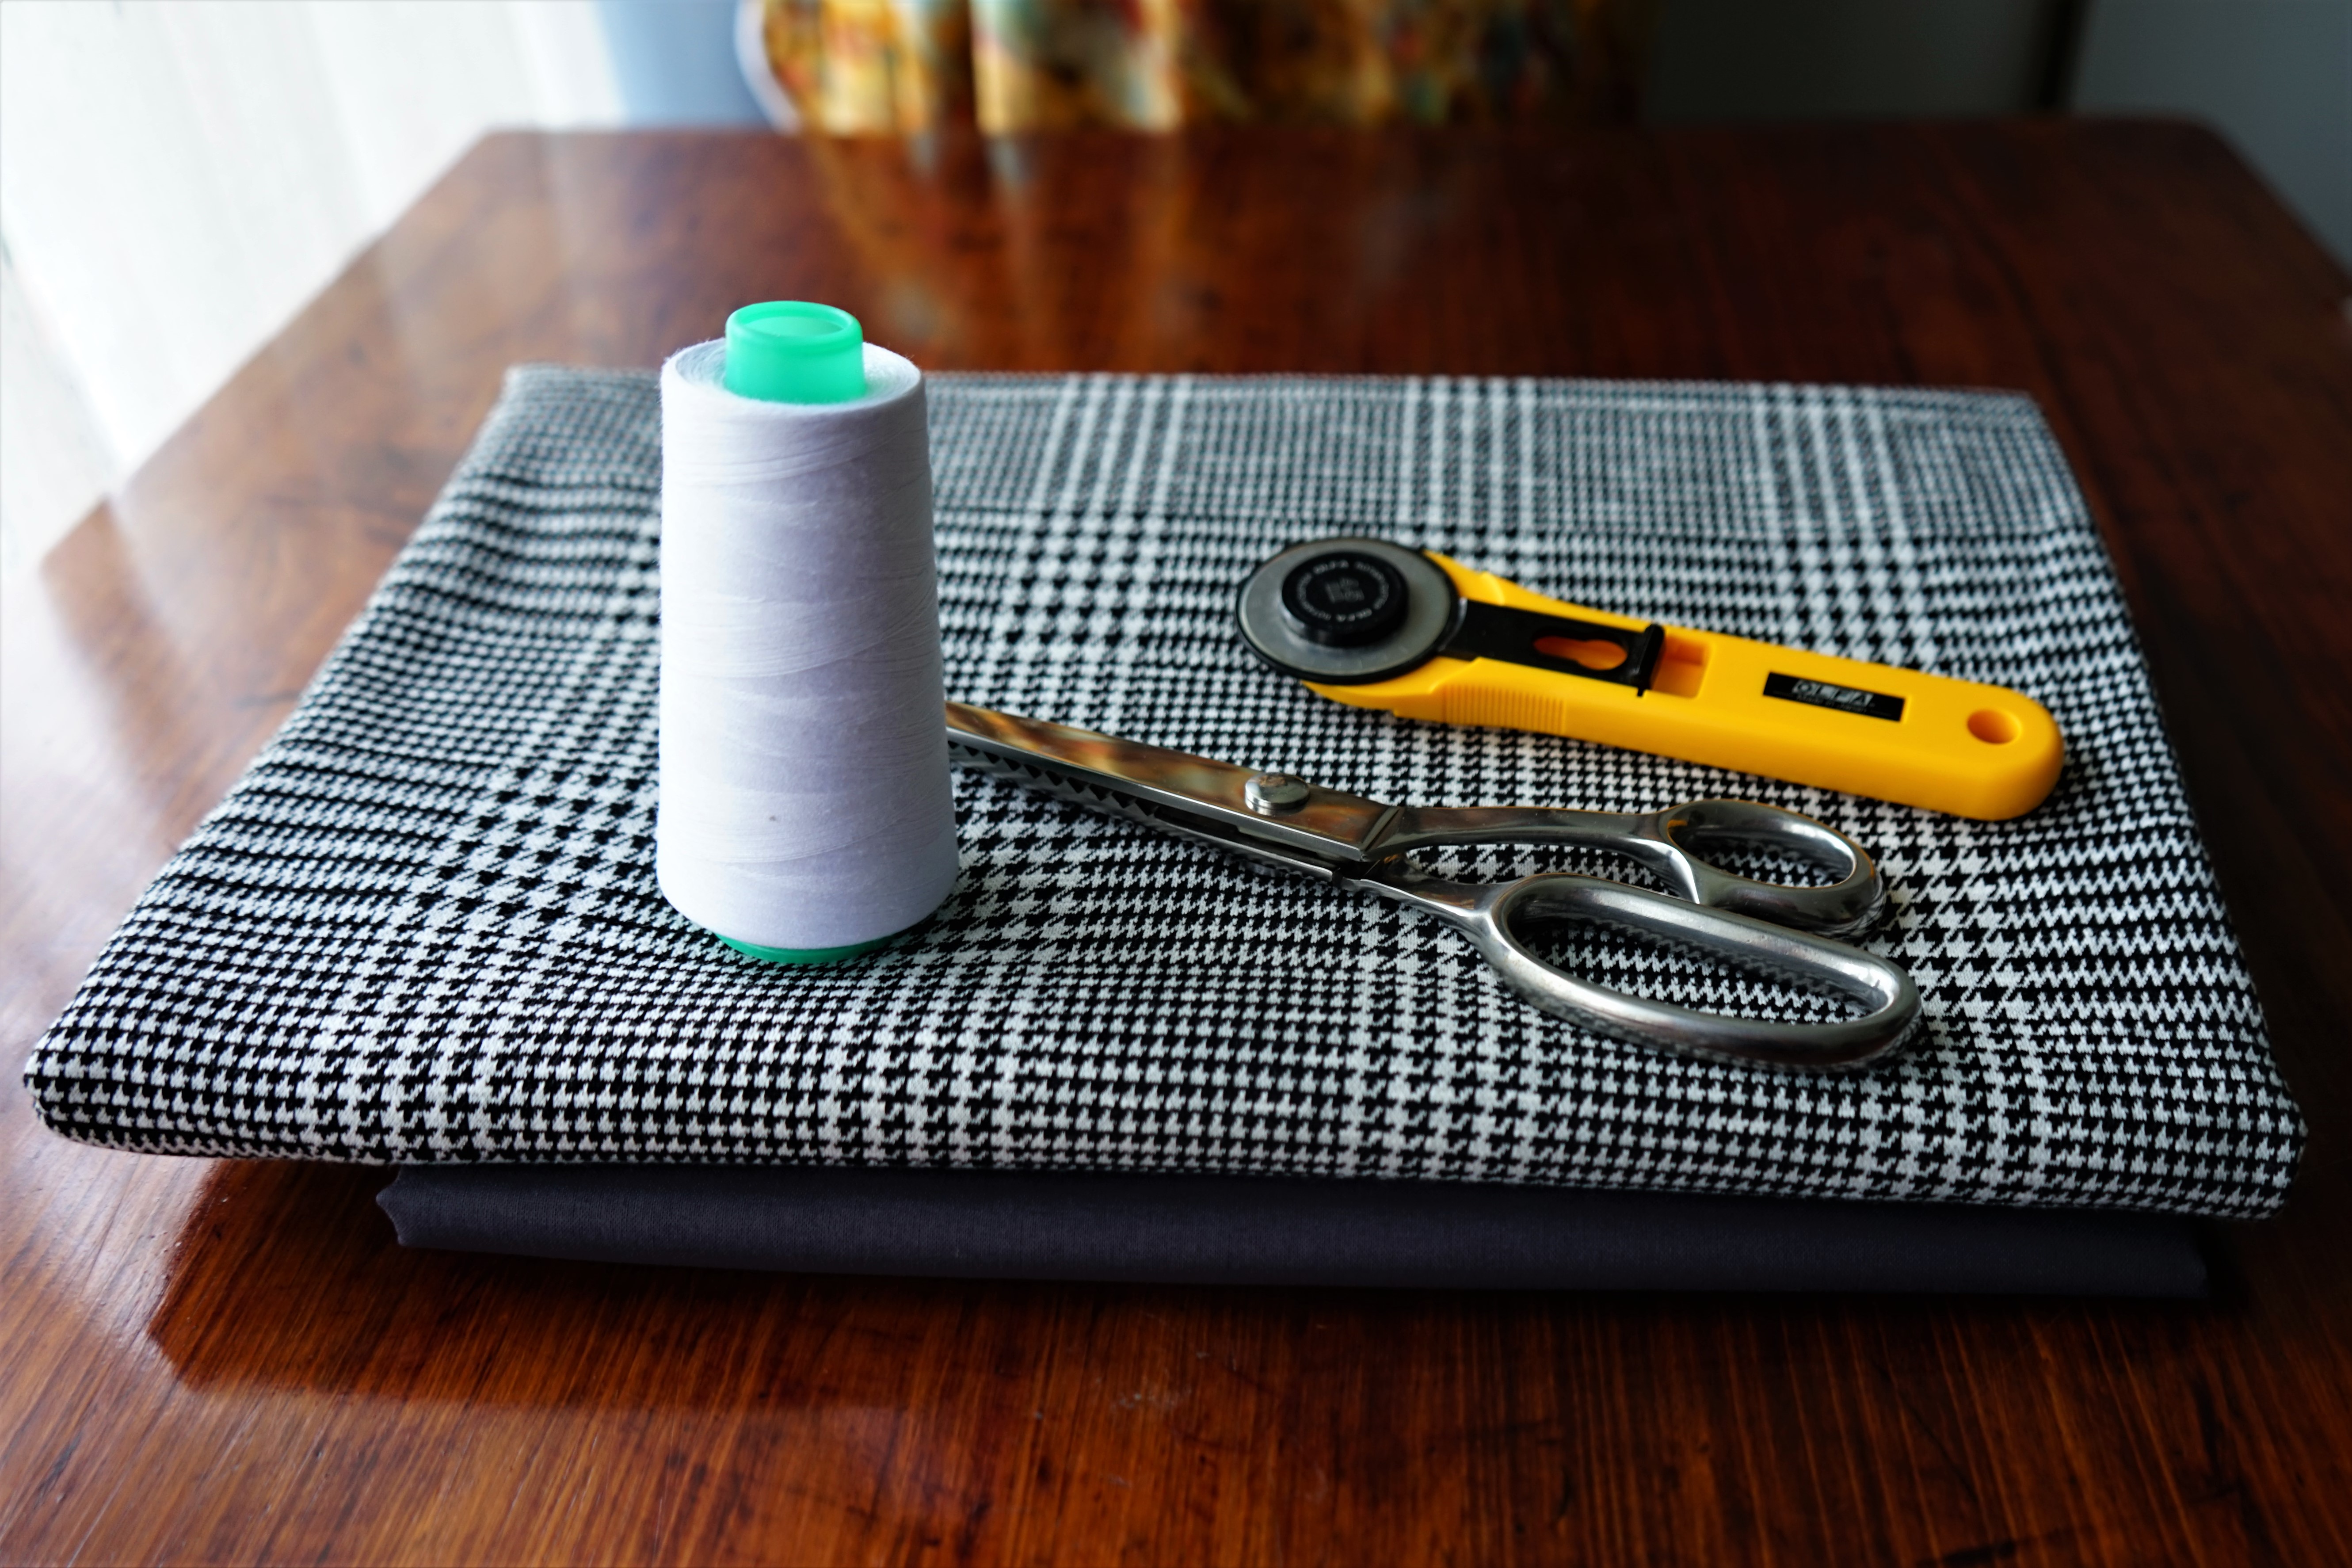
This second one is made from a cotton drill for the main outer fabric and a thinner woven cotton for the lining. I think this one has rather a cool, edgy look to it.

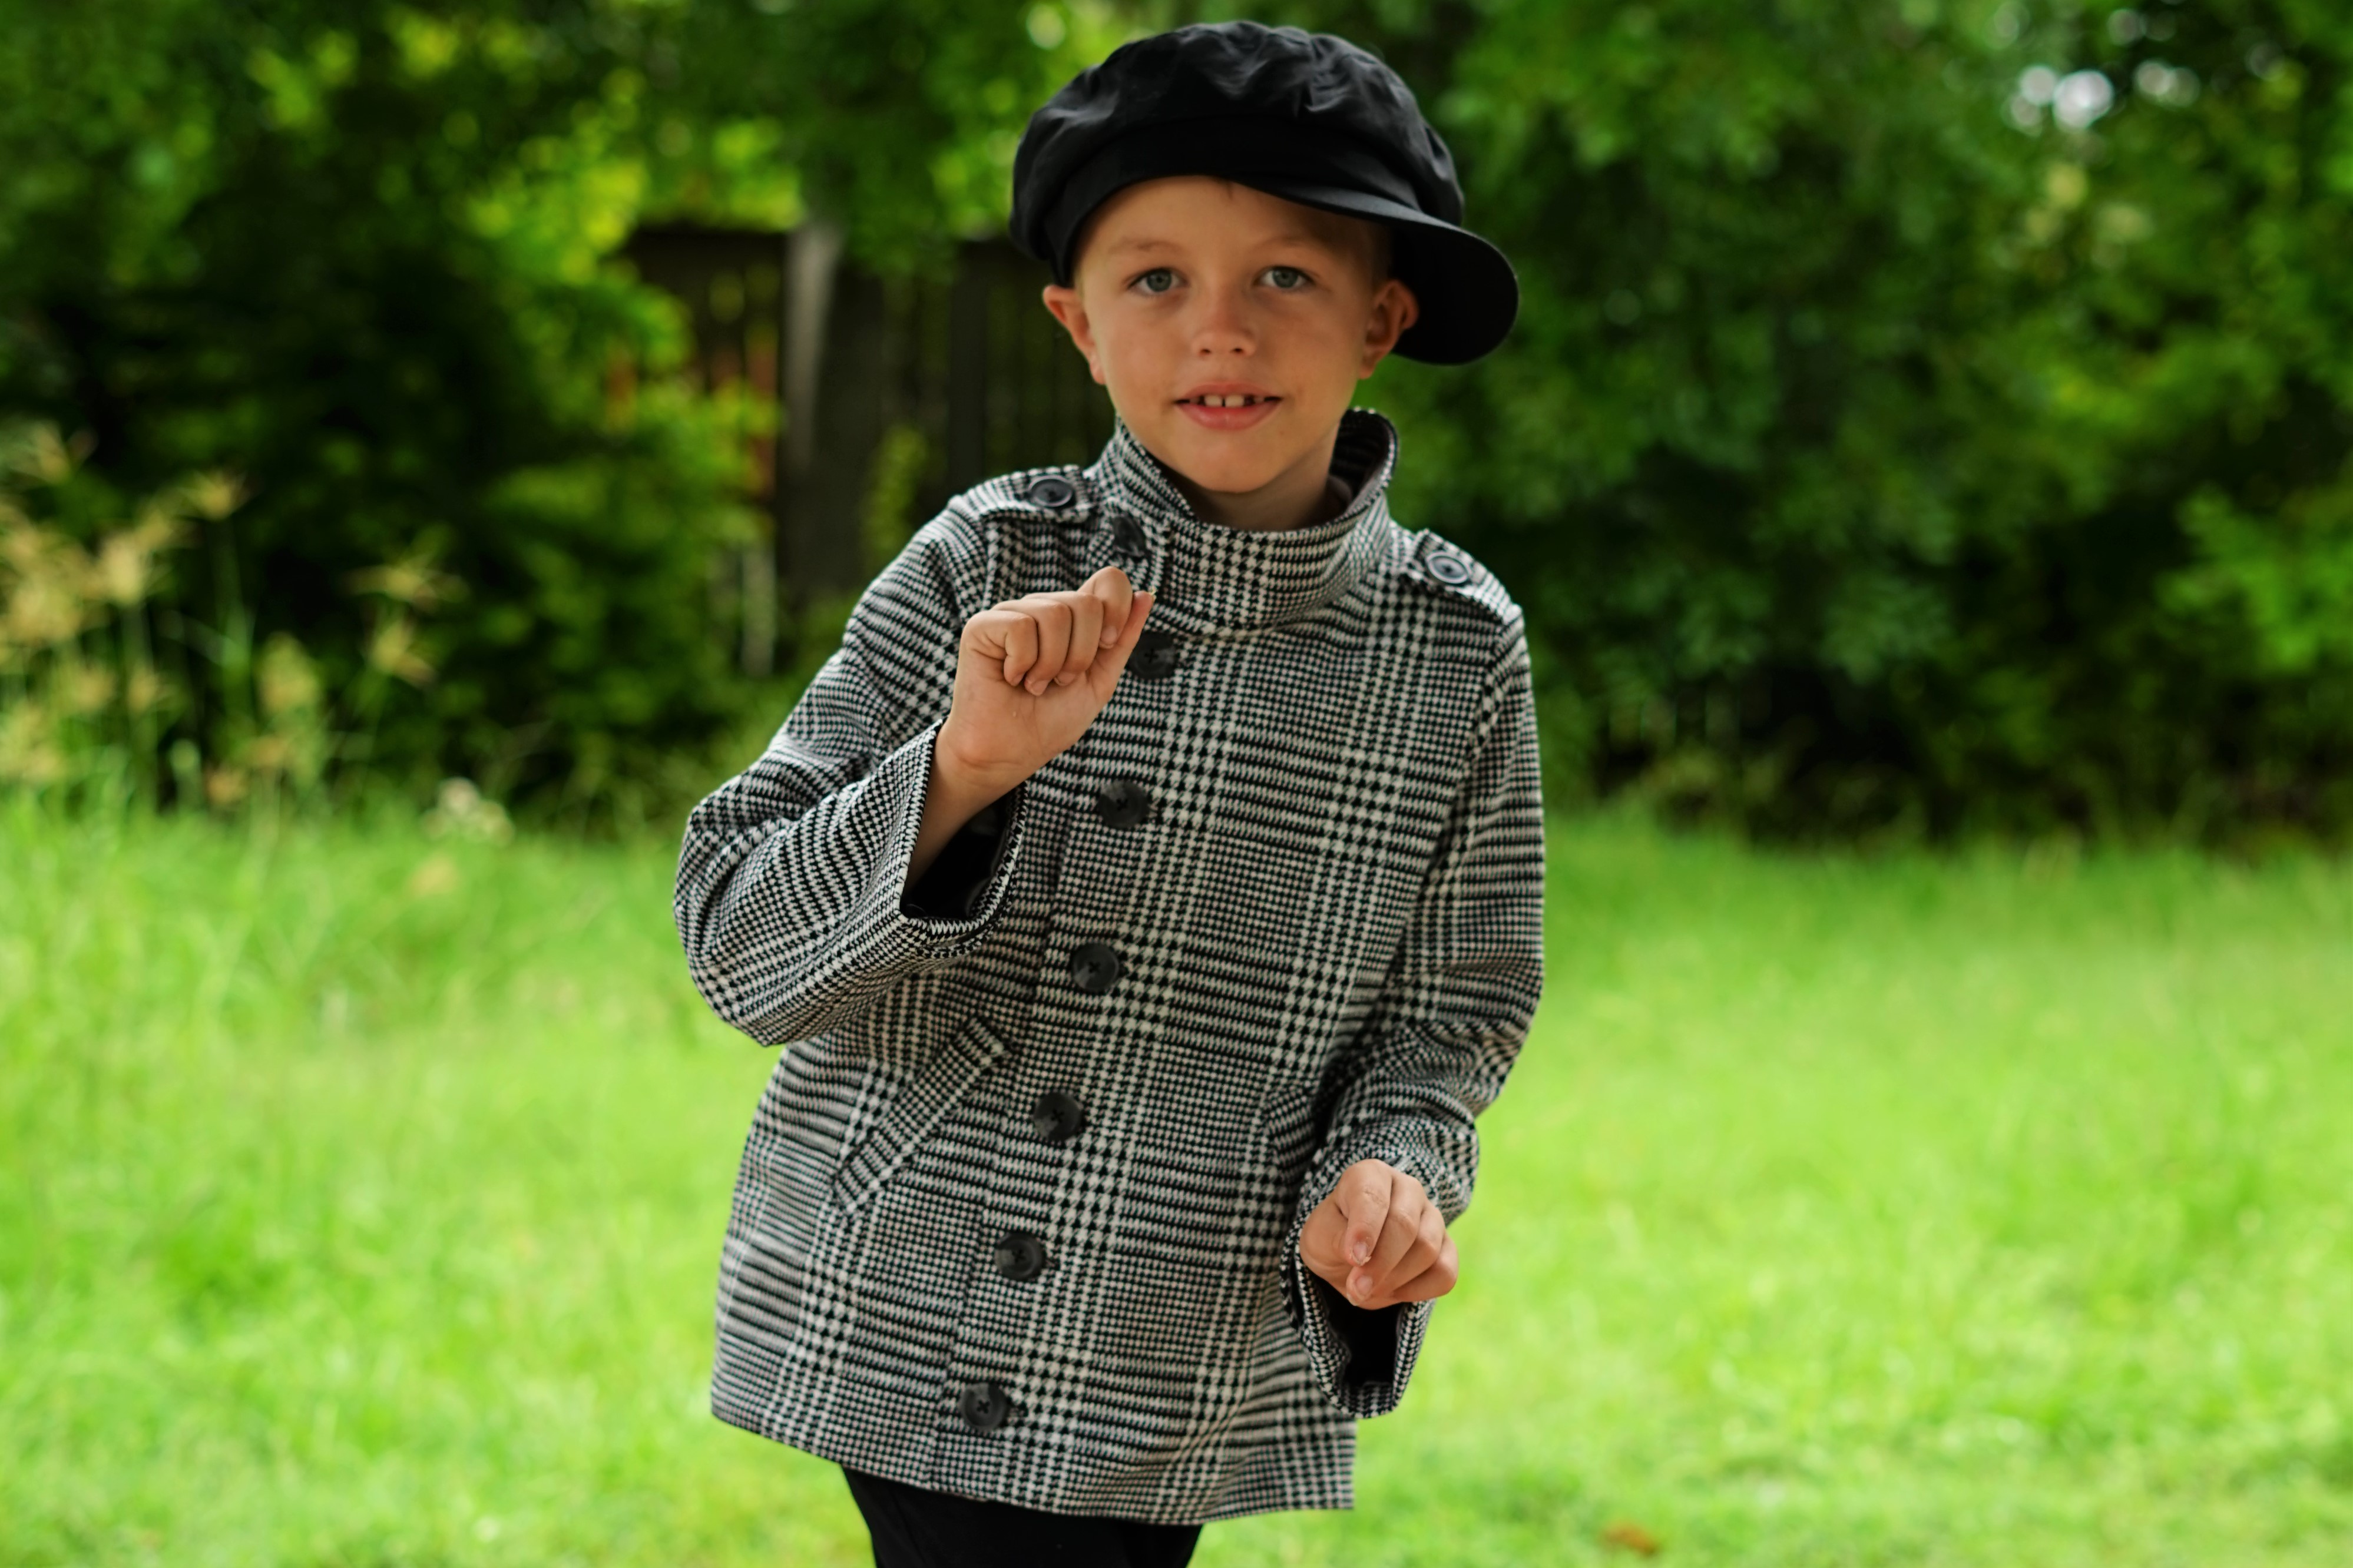
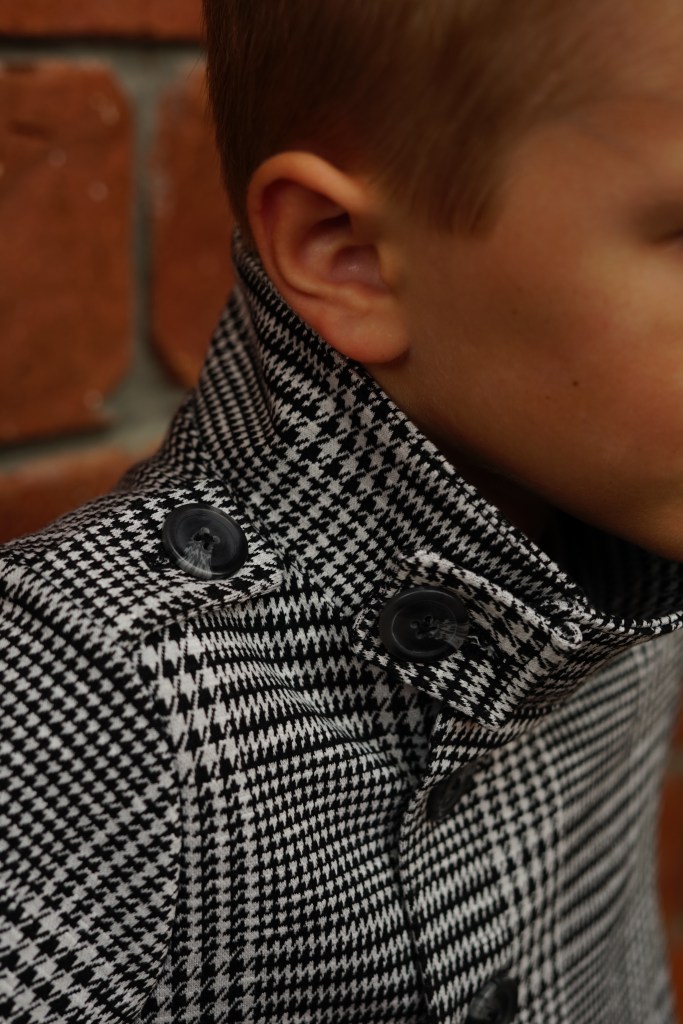
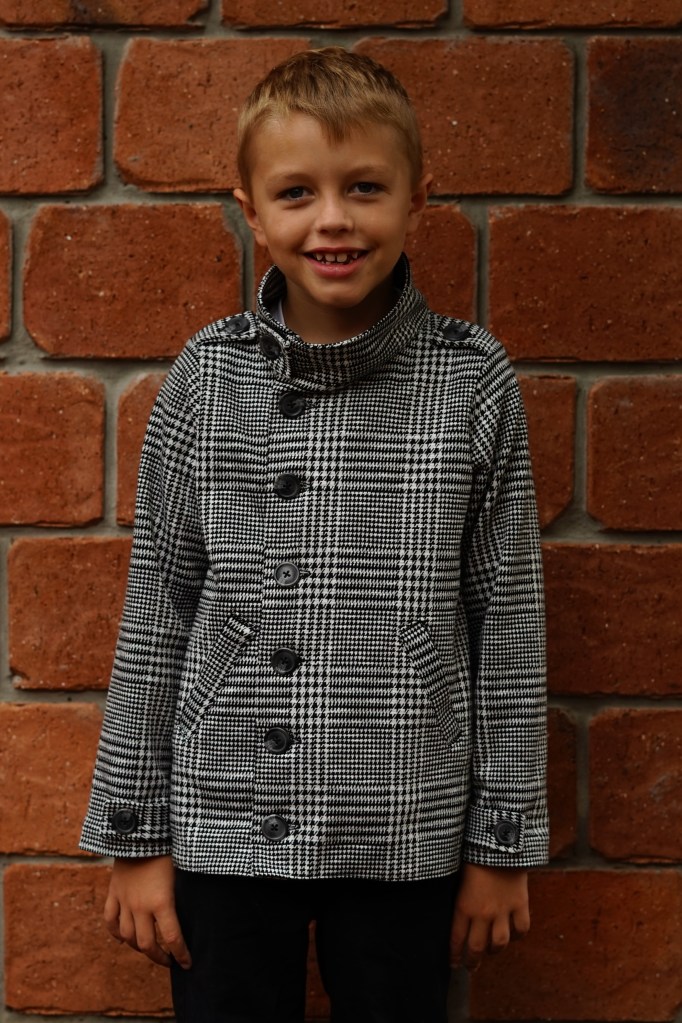
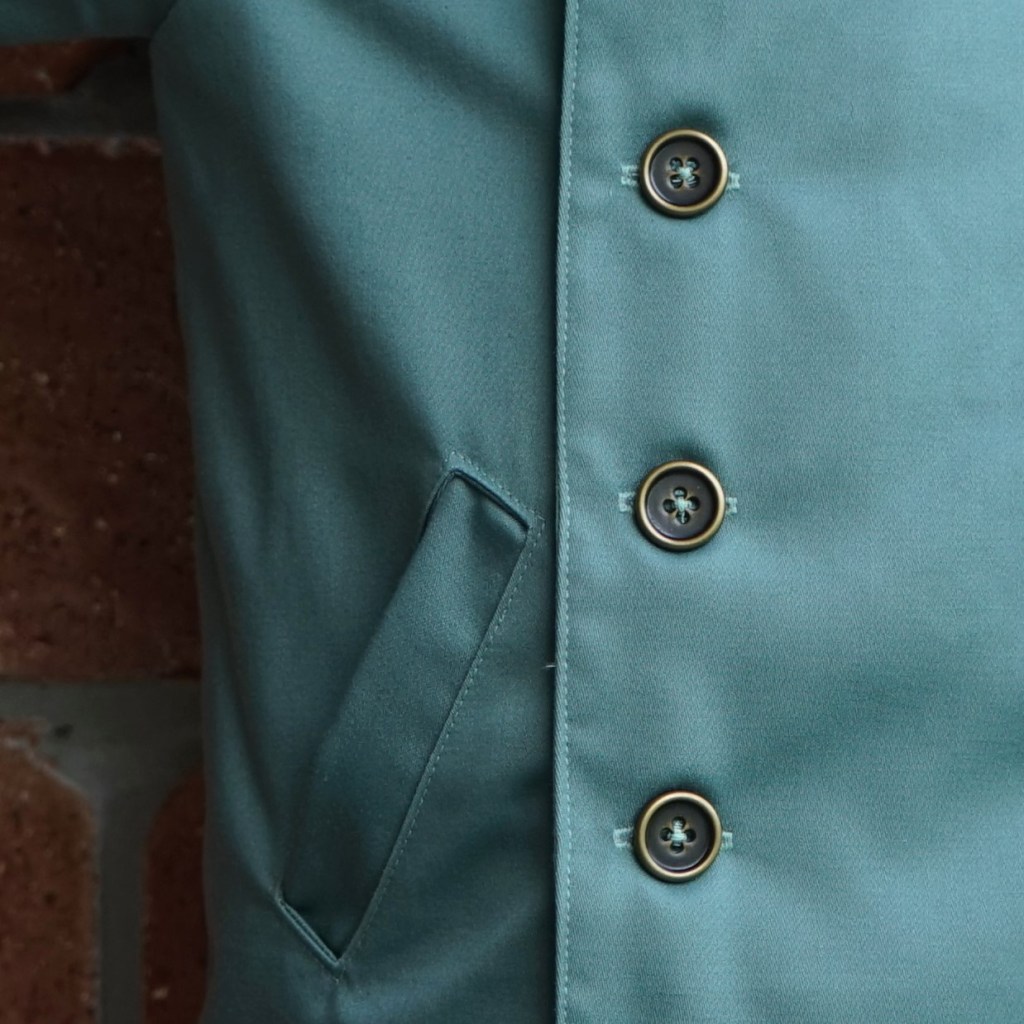
The instructions were clear, easy to follow and suitable for a beginner. The whole jacket came together very quickly and easily and I absolutely adore the result. My favourite part of the jacket is the many, many possibilities with the buttons. I simply love buttons and I figure on a jacket pattern like this, they are there to make a statement. I used ¾ inch buttons for both versions and don’t regret it. I think I prefer the button placement on the black and white jacket, simply because I think I added one too many for the khaki version. I’m already planning my next ‘Duke’ and this one will have some chunky, metal jeans snaps!

Tips for making the Duke

  • The welt pockets were the trickiest part, so if you’ve never attempted them before take it slow and follow the instructions.
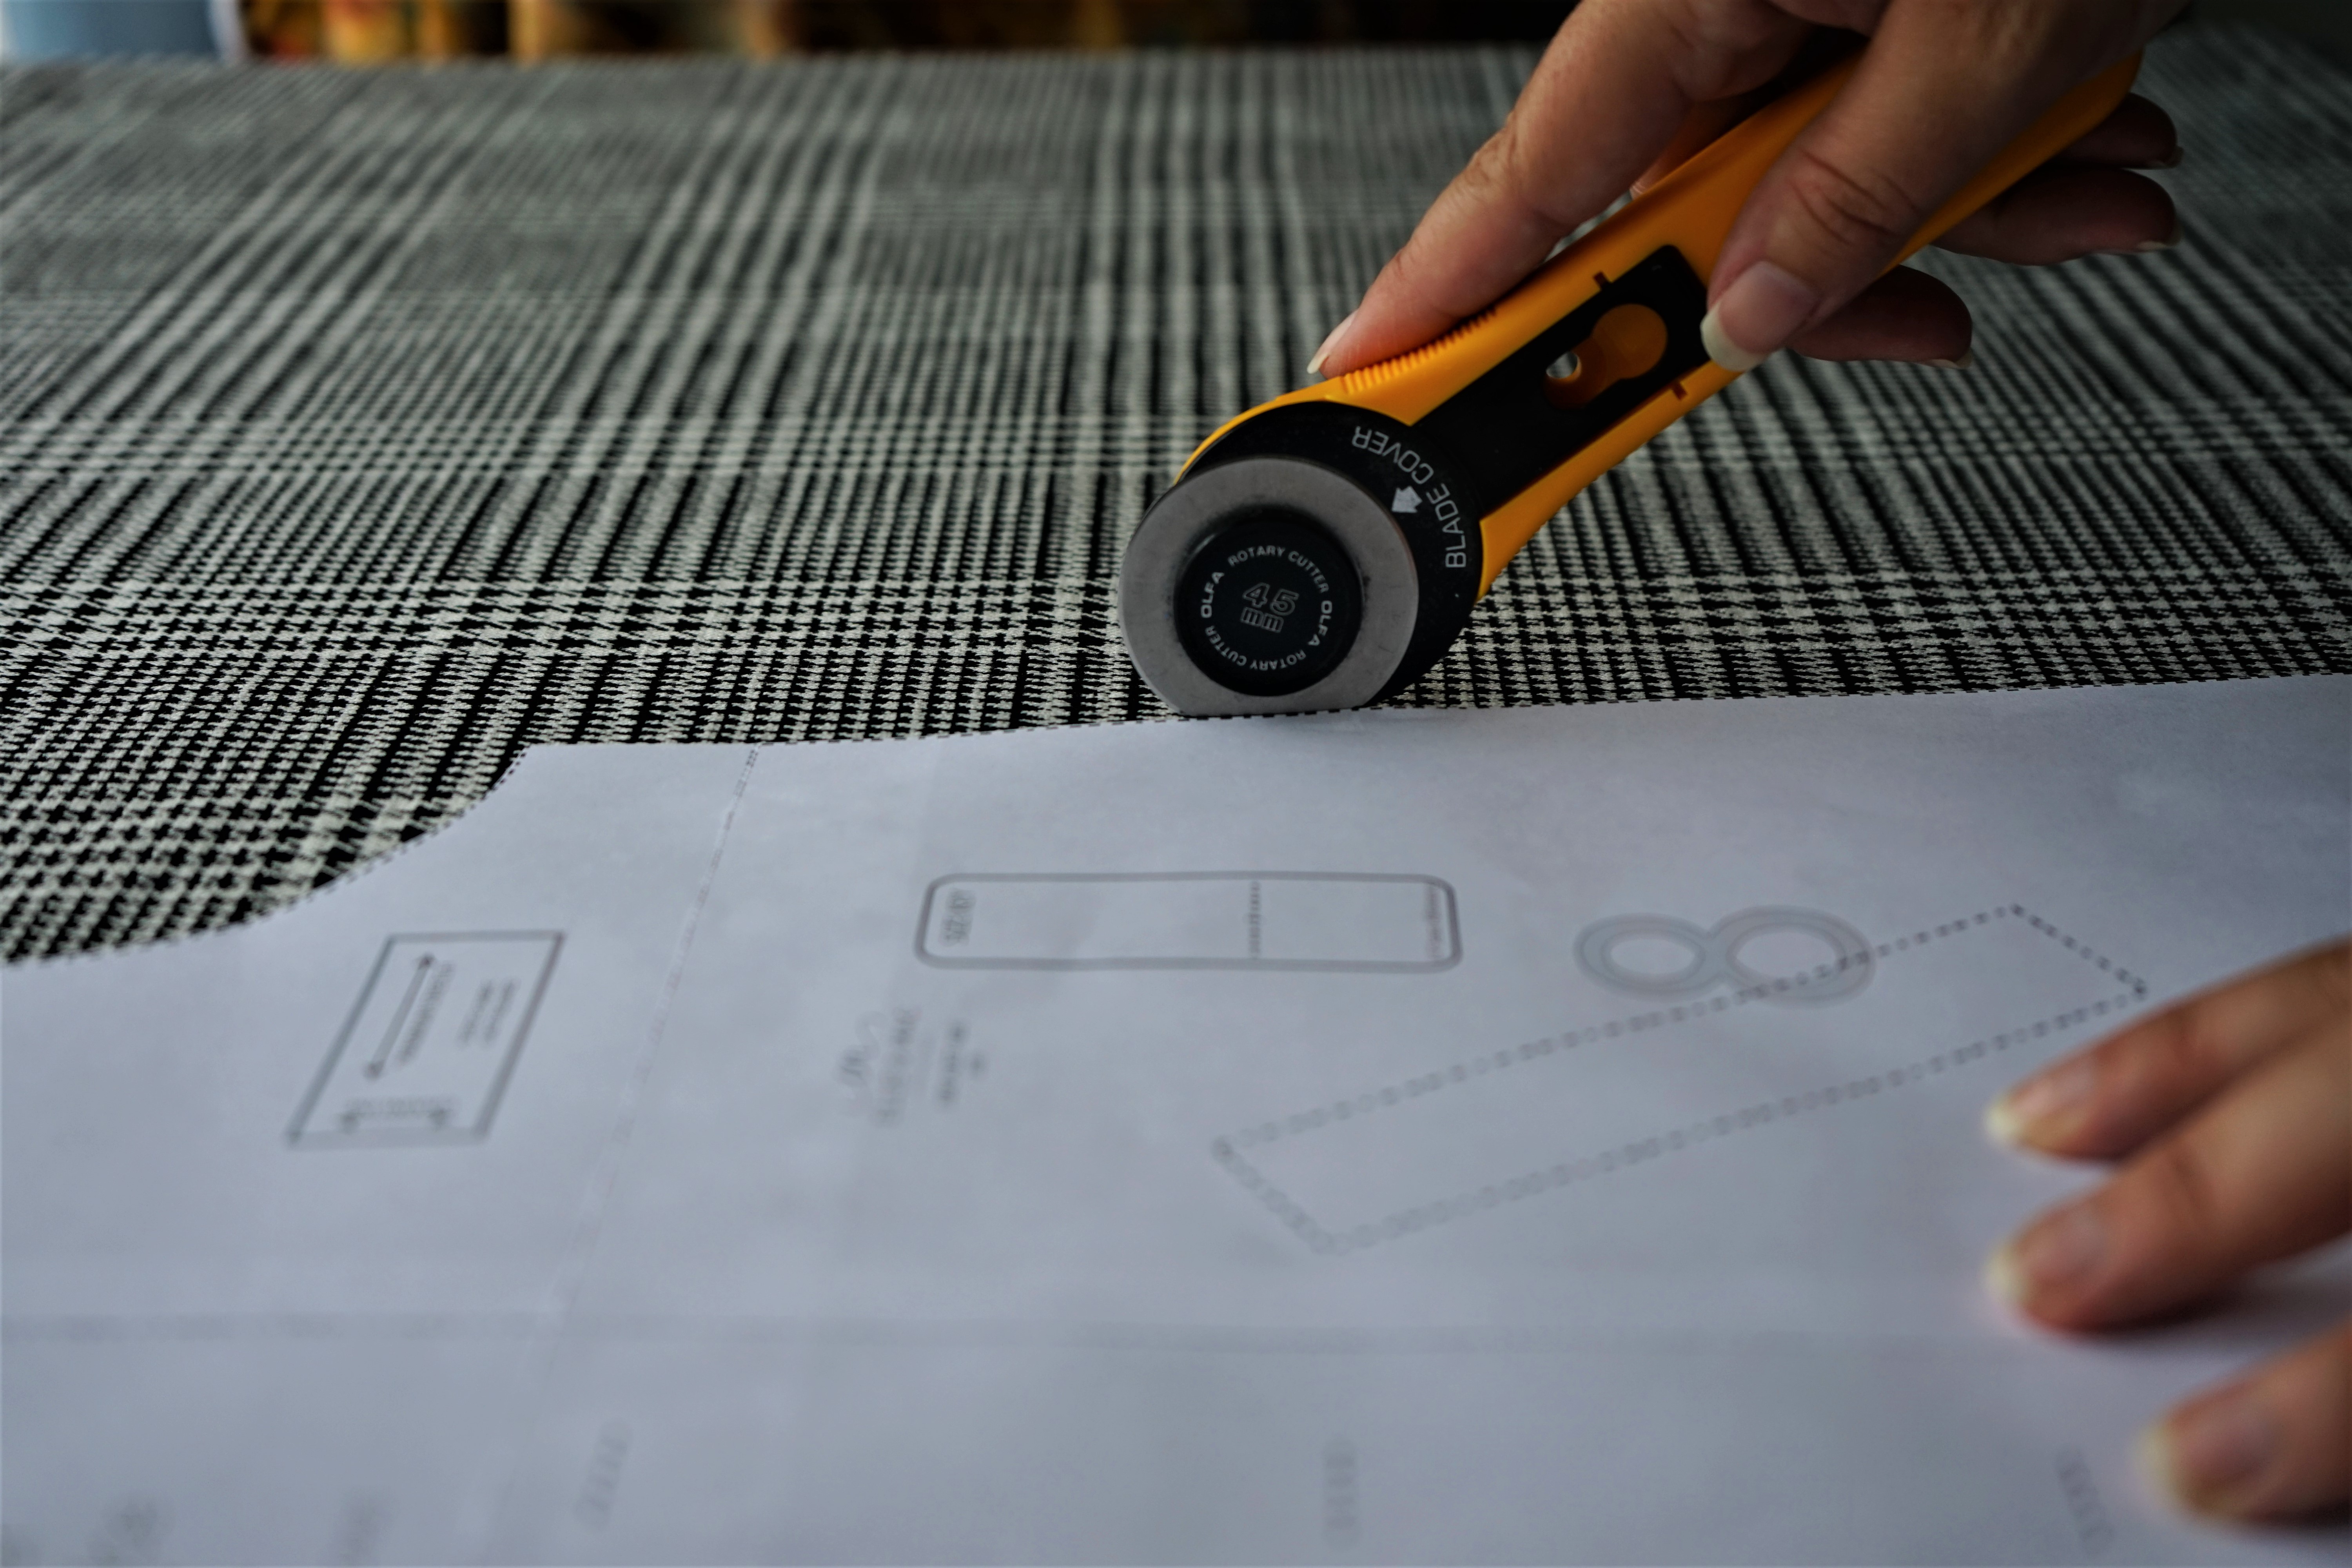
  • Remember to cut out your main and liner as a mirror image. This is very important so make sure to double check before you cut.
  • If your pocket piece sticks out a little past the Under Front Bodice, make sure to trim it back so it lays nice and flat once the liner is attached.
  • Scared of button holes??? This pattern works really well with snaps too.
  • If you want to give button holes a go and you decide to use a tricky fabric (such as a wool blend with satin lining!!!), make sure you interface, interface, interface. And sew a practice button hole first!
  • Pattern: The Duke from Ellie and Mac
  • Size: Kids 7 (no alterations)
  • Fabric: Black and White version – Wool Blend from Spotlight Australia (Main Fabric), Satin from Spotlight Australia (Lining Fabric)
  • Fabric: Khaki Version – Cotton Drill (Main Fabric), Cotton (Lining Fabric)

To get this pattern, my affiliate link is here. It doesn’t cost you any extra, but I appreciate every time someone clicks on it.

However, if you prefer to purchase the pattern without my affiliate link attached, please click here.

*No boys were harmed during the making or modelling of this jacket. I had been worried about my son wearing this jacket in the heat for photo’s (even for just the 10 minutes it would take to shoot them) but luckily it rained heavily in Brisbane the weekend I took photo’s, which brought the temperature way down. He also took an extortionate amount of money from me as payment, so it’s really me you need to feel sorry for!

Until next time….Laura XXX

Lantern Sleeve Dress

Wow. The world is crazy right now. A lot of people are sick and many have lost their lives. A lot of people are out of work. A lot of people are in lock down, unable to leave their homes. People are scared right and the best thing about sewing (and the people who sew) is resilience. People have kept on sewing through this whole crazy time. If you are part of any Facebook sewing group, in any part of the world, you would have seen how the amazing sewistas have come together to sew PPE for the wonderful front line medical staff. And to those people I say Thank you!!!

Thank you to all the dedicated people who selflessly give their time, talent and treasures to make the world a better place.

I am one of the few lucky people who still has a job in this turbulent time. So while some people have been busy creating and sewing, I have been working from home. My sewing room has become a study, and my sewing table has become a computer table. My workload has doubled, so my time to sew has unfortunately dwindled. Please don’t think I’m complaining. I am so grateful to have a job and I am enjoying watching everyone else’s fabulous creations from my computer screen. What I have to share with you today was something I sewed way back before any of us had even heard of COVID-19. I have been eagerly awaiting it’s release because I am absolutely in love with it. Initially, I wasn’t sure about the Lantern Sleeve Dress. I thought it wouldn’t suit me and I’m not a big fan of lantern sleeves in general (I think they are a bit too puffy for my liking). But I am a TOTAL convert now. I love my lantern sleeve dress!!!

I hadn’t done any selfish sewing for myself in a while and because I like I challenge, I decided I’d give Rebecca Page’s new Lantern Sleeve Dress a go. I’m so happy I did. I love how it turned out! It really has become one of my favourite dresses. It is so comfortable and skims over all my lumps and bumps to make it very flattering.

My Lantern Sleeve Dress is made from Rayon, but you could use any light–medium weight, woven fabric with good drape. It took a good two days to cut out and sew. It would be best attempted by intermediate sewers (or a confident beginner who wants to push themselves!)

The pattern is available for women Sizes XXS to 5XL, with a lovely scoop neckline and a subtle high-low frill at the bottom. The pattern has optional welt pockets, as well as sleeveless, short sleeve or lantern sleeve versions. Rebecca Page’s instructions are always very clear and easily to follow.

Tips for Sewing the Lantern Sleeve Dress
  • You can use facings or bias binding to finish your neckline. Both instructions are provided. I used facings for this version.
  • The pattern requires the fitting of an invisible zip. If you don’t have an invisible zipper foot for your machine, the pattern instructions give you some tips to help you insert the zip with a regular zipper foot. There is also a handy video available to show you how to insert your invisible zip.
  • The pattern is drafted in the bust for a cup size C . I am larger (cup size DD), but there was enough ease in the pattern that I did not require a Full Bust Adjustment.
  • There are two different cut lines on the bodice pieces for the sleeveless and short sleeve/lantern sleeve versions. Double check before you cut!
  • Pattern – Lantern Sleeve Dress by Rebecca Page
  • Size – Women’s XXL
  • Fabric – Rayon from East Coast Fabrics

To get this pattern, my affiliate link is here. It doesn’t cost you any extra, but I appreciate every time someone clicks on it.

However, if you prefer to purchase the pattern without my affiliate link attached, please click here.

Until next time……Laura xxx

The mistakes we make…

I’ve had a sewing machine for as long as I can remember but I only started seriously using it 5 years ago. I am completely self-taught (you tube is great for this) and even though I’m now an extremely confident and competent sewer, I’ve made A LOT of mistakes in the past. However, each small (or massive) mistake I have made has taught me something new. And I’m still making mistakes. Sometimes big ones. Don’t believe me??? Take a look at this top I made….It is the Kimono pattern from Halla. It’s a fantastic design and I love it alot (that’s why it’s featured on my homepage). Is it perfect?

That’s a big no! It’s far from perfect. I made a big mistake while making it. Let me explain….I, in my infinite wisdom, decided to ignore the fabric requirements and tried to play pattern tetris with only 1.5 metres of fabric when the pattern required 1.8 metres. Can you see where I’m going here??? Yep, you guessed it, I ran out of fabric. I didn’t have enough fabric for one of the peplum pieces. I could have tried to colour block, but I couldn’t find anything in my stash that matched.

Wanting to finish my top, I ordered extra fabric online. It arrived a few days later, but to my horror, the scale of the floral design was completely different!!!

New Scale Old Scale

The company had changed the scale of the floral design and I didn’t realise while ordering it. After a few minutes of berating myself, I shrugged my shoulders, accepted it and finished my top with the larger scale.

Will regular people notice that the back peplum has bigger flowers than the bodice? Probably not. Will other sewers/seamstresses notice? Possibly. Do I get compliments each and every time I wear this top? Absolutely. I guess what I’m trying to say is as much as I have learned over the years, I am still yet to sew anything ‘perfectly’. And that’s a good thing. It doesn’t matter if you sewed something on wonky, or you didn’t match your lines perfectly….just be proud that YOU made it!

  • Pattern: Kimono Top from ‘Halla’
  • Size: 20, empire waist, large bust
  • Fabric: Zara in Cotton Lycra from ‘Fabric By Missy Rose’

To get this pattern, my affiliate link is http://lddy.no/eb6u. It doesn’t cost you any extra, but I appreciate every time someone clicks on it.

However, if you’d prefer to purchase the pattern without my affiliate link, the link is: https://www.hallapatterns.com/products/kimono-top-dress-women

Design a site like this with WordPress.com
Get started